Posts

DIY: Flower RIng

Image
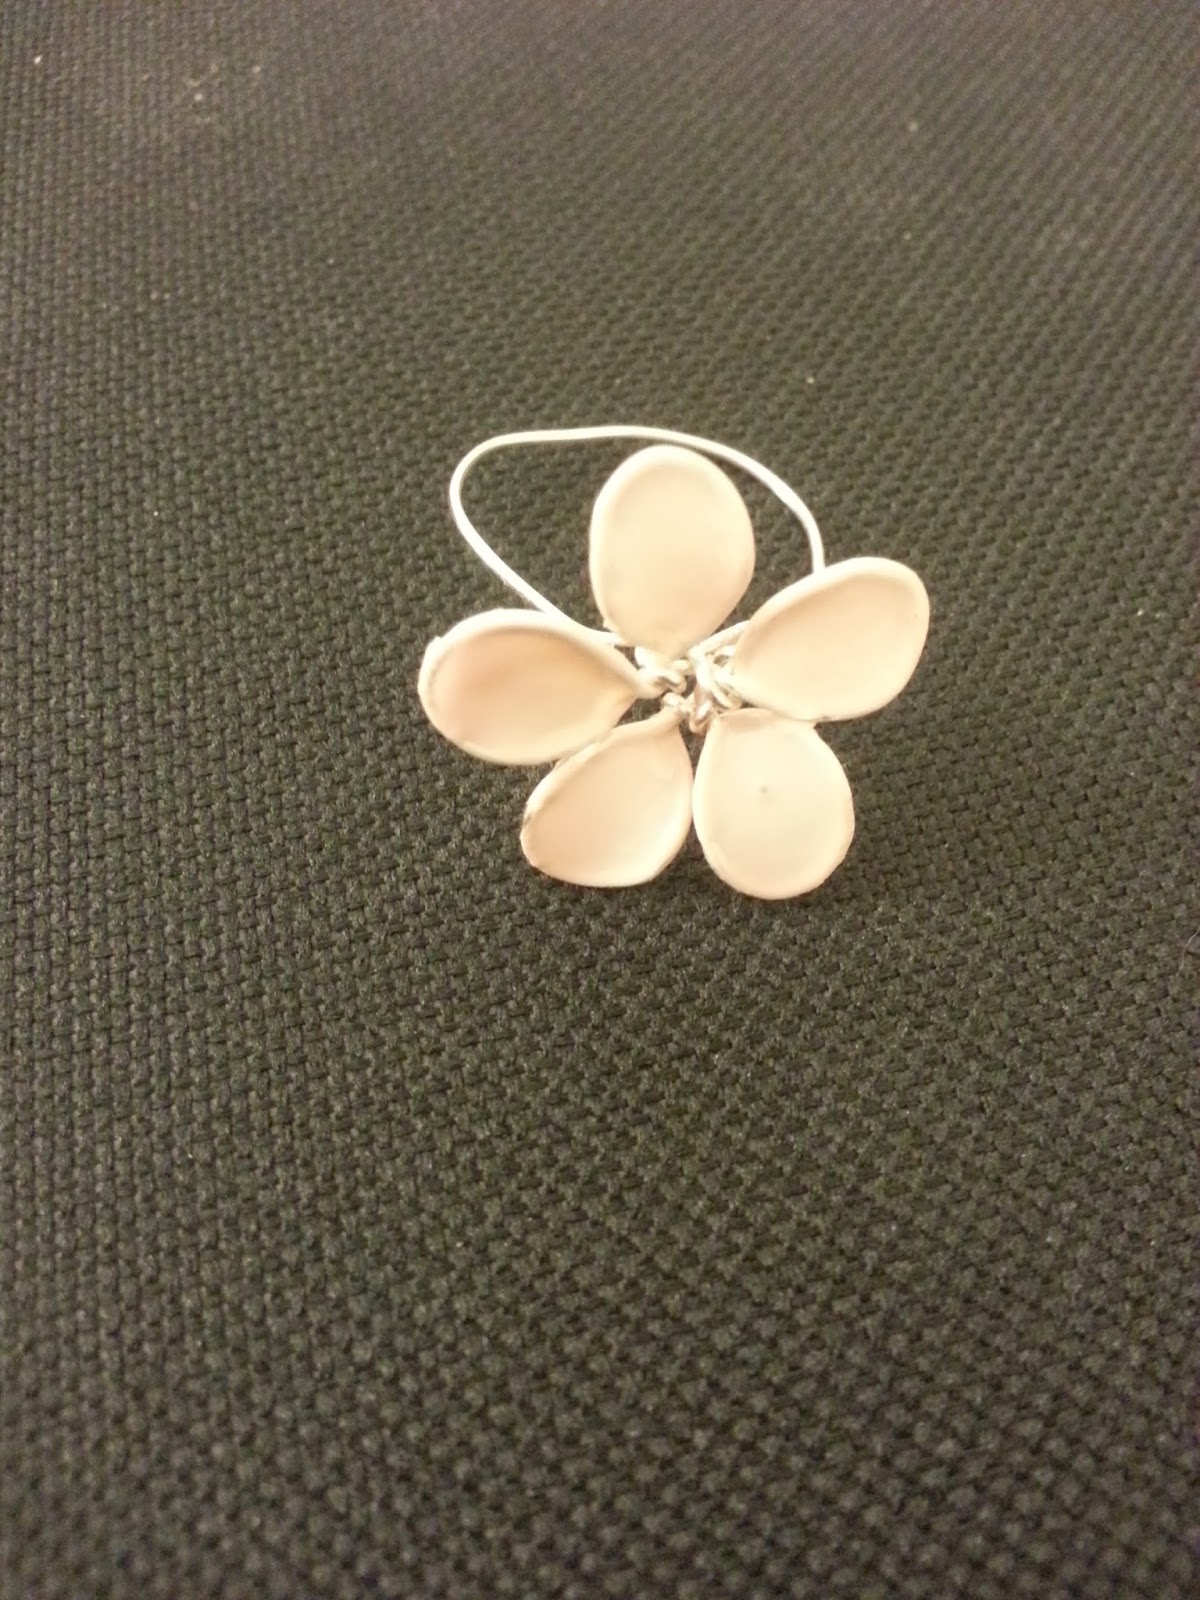
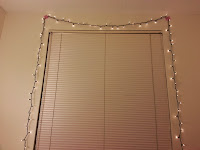
I discovered a cute, re-inventive way of creating a flower ring today. Usually, making a flower ring for me consists of just forming a flower shape out of wire. This tutorial takes it a step further, creating an enamel filling for the petals. What you will need: 16 gauge wire Wire pliers Pencil Nail polish color of choice First, start off by wrapping the wire around a pencil 5 times (or as many times as you want petals) Start bending the coils out one by one to make the petals and shape them to your taste.   Take the end of the wire and wrap it around a marker or something else that is round that is about the size of your finger and secure the end. Next, we are going to start filling in the petals.  Take the nail polish of your choice. I picked a very light pink color because I was going for an elegant look. A fat, flat brush works best for this. Star at the point of the petal and slowly pull back, creating a thin film. If th...

DIY Harry Potter sharpie mug

Image
I about to write a post about something many, many, MANY people have done before, but I just couldn't resist myself. I thought this idea was just so cute. It really isn't much of a tutorial. Get mug, decorate, bake, BOOM you're done. I decorated mine to have as many Harry Potter references as I could fit without overdoing it. The main point is the play on "Expecto Patronum" turning it into Espresso Patronum. I then added some HP themed symbols on the handle. On the bottom I draw the grim to mimic the scene with the tea leaves. And, because I love this quote, I wrote "I solemnly swear I am up to no good  ·  Mischief managed"

Valentines Day Nail Art

Image
Yes, another valentine-related post in a row. I apologize. But I came up with this idea in the middle of the night (yup thats how my brain works), and I randomly decided to make a post about it. I'll say it now, excuse my bad photography, I literally did do this in the middle of the night. Here is the design: Start off by painting your entire nail your base color. I chose black as mine. Then I took a piece of tape and cut a heart out of the middle with a heart hole puncher. If you do not have one, fold the piece of tape in half (make sure the sticky sides aren't the ones touching) and cut half a heart out in the middle. Paint over the space with your heart color. When you take the tape off, you should have a cute heart. Go ahead and put dots around the outside of the heart in a contrasting color.

Maintaining New Year's Resolutions

Today, January 10th, is the day most people start to give up on their New Year's resolutions. I think changing for the better in a New Year is healthy, thus important. That being said, here are a few tips to maintain your New Year's resolution. Put Resolutions Somewhere Visible Write down your resolutions on a piece of paper and tape it somewhere you will see every day. This way you will not forget about them and you will subconsciously be more motivated to towards keeping them. Set Up Reminders Set alarms on your phone or scheduled text messages to remind yourself to do somethings such as work out. There is no "tomorrow" Do not hold everything till "tomorrow" because eventually "tomorrow" will become 2015's New Year's resolution. I hope these tips helped some of you to lead a healthier, happier year. Happy New Year to all of you!

DIY: Flower Lights for Under $10

Image
So about a month ago I decided to put up some string lights. They look super cute but after a month of looking at them, they started to look a bit plain. So, I thought I should do something to spice them up a little. I was looking online to see if I could find some cute things to do with string lights, but I didn't really have access to craft supplies by my dorm. After a bit of digging, I found some string lights that had flowers on them. I thought to myself, I can make that. And I'm loving the results. Before:                                After: What you will need: String Lights 2" flowers I got these flowers online for in a pack of 24 for only $7. You have to make sure the flowers are like these, where there are two layers of petals and a center. The first thing you need to do is get the petal apart. Pull the green backing off of the stem piece. When you pull the pieces apart, ...

Avoiding the Dreaded "Freshman 15"

We've all heard about the freshman 15, the fifteen pounds you gain your freshman year. This was honestly something that really scared me when I first found out about it. I came to school at the beginning of the year with the set goal of staying healthy, active and, of course, avoiding the freshman 15. So far I have been pretty successful, in fact, I've actually lost weight. So I thought I'd share some tips. 1. Have a Balanced Diet Now, for every freshman, there is the temptation to eat unhealthy junk food. You are away from the parents; nobody can tell you what to do or what to eat. But it is important to keep balanced. The occasional soda is okay, but not every day. That being said, don't go on a diet as they often leave you undernourished. You need proper nutrition in order to study for classes. 2. Get a Workout Schedule Going It is important to start this in the beginning of the semester when classes aren't in full swing yet. Find a form of working out that...

Mini Christmas Tree

Image
With the holidays right around the corner, I wanted to add a little bit of the holiday touch to my bedroom. Unfortunately, with the little space my dorm has, I didn't have very many options. I was considering getting a mini Christmas tree, but there was no way I would be able to find the floorspace for it. It wasn't until I went to Michael's that I found what I was looking for: a tree small enough to fit on my bookshelf. It is about 8 inches tall. It actually is for model scenes. The tree itself is really plain. It has a little bit of a whitish look on the branches to mimic snow. I was considering not even getting it. That is until I found The mini spherical ornaments, light ornaments, and candy canes. I used silver pipecleaners as tinsel. At the end of the say, I really like how it turned out. It adds a little bit of the holiday spirit to my bookshelf without adding too much. Plus decorating it was just as fun as decorating a real Christmas tree.