Posts

Spelling Out Your Workouts

Image
If you're anything like me, doing the same workouts over and over again are extremely boring. It's very difficult to get the motivation to work out when you get bored halfway through. I'm not the biggest fan of the gym because I stay for 15 minutes and get bored/ leave. This is extremely unproductive. As I was scouring pinterest for workouts the other day, I found this from the SkinnyMom.  To me, conceptually, this seemed like an interesting idea. However, the thought of just doing my name over and over again seemed extremely uninteresting. I figured that I liked the idea of spelling words out. I toyed with the idea of spelling "flat abs" or "skinny legs" as a workout, but it was still too routine for me after a while. I then came up with the idea of using a random word generator  such as this one. This way the workouts vary by size and intensity. I came up with a couple rules too: short words 3-4 letters in length: 5 sets of the worko

The Ultimate Nail Art Cheat

Image
Ever feel like your attempts at doing your own nail art ends up looking like a five year old did it with a blindfold on? Even though I feel like I have gotten enough practice to be able to do a neat design with precision, I still haven't been able to do some of the more intricate designs because of the uncertainty that comes with the brush of a nail art pen. I've come up with a way to easily create beautiful designs with more precision than a the typical routines. What you'll need: Nail polish color Clear top coat Sharpie (any colors) Ziploc baggie To start, you will need to trace the size and shape of your nail onto the baggie with a sharpie. Fill in the shape with clear polish. I recommend a fast drying top coat like seche vite as it is easier to peel off and (obviously) it dries fast. Next, when the polish dries, draw in your design. Once you are done with that, put on a layer of polish onto your nail. The wet polish w

DIY: Flower RIng

Image
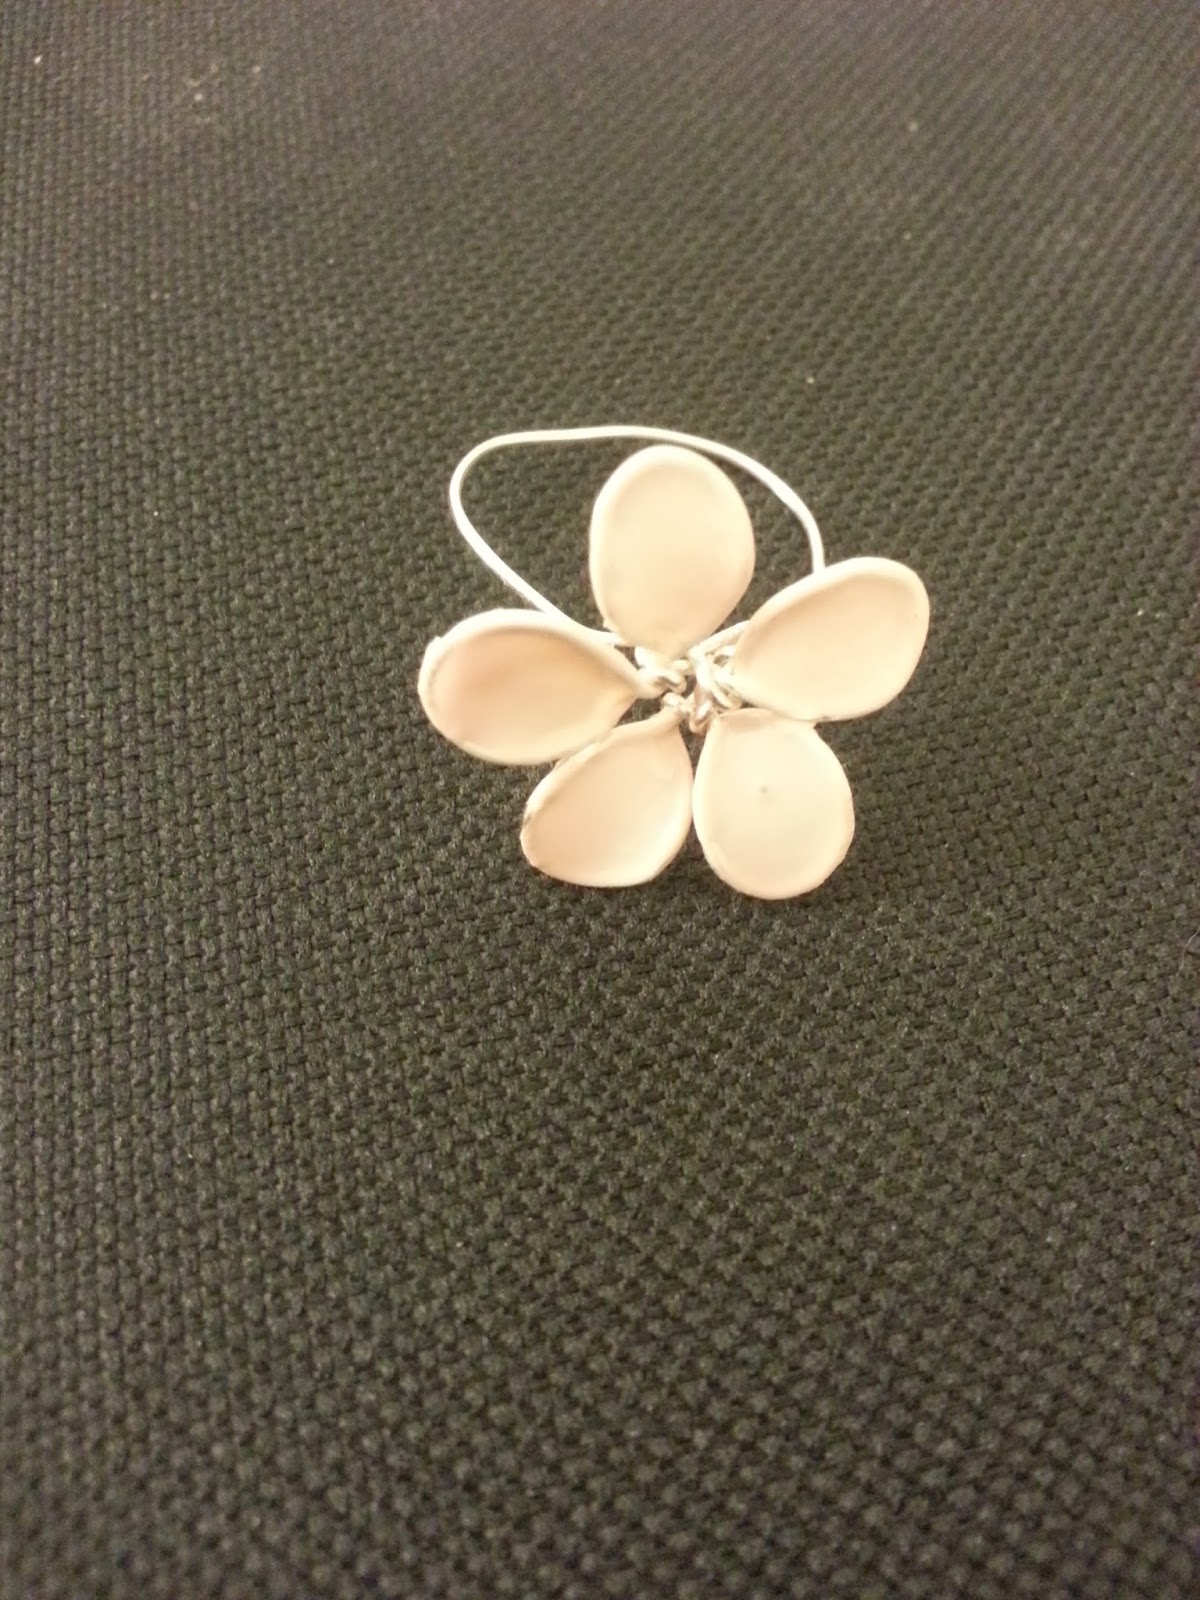
I discovered a cute, re-inventive way of creating a flower ring today. Usually, making a flower ring for me consists of just forming a flower shape out of wire. This tutorial takes it a step further, creating an enamel filling for the petals. What you will need: 16 gauge wire Wire pliers Pencil Nail polish color of choice First, start off by wrapping the wire around a pencil 5 times (or as many times as you want petals) Start bending the coils out one by one to make the petals and shape them to your taste.   Take the end of the wire and wrap it around a marker or something else that is round that is about the size of your finger and secure the end. Next, we are going to start filling in the petals.  Take the nail polish of your choice. I picked a very light pink color because I was going for an elegant look. A fat, flat brush works best for this. Star at the point of the petal and slowly pull back, creating a thin film. If the film br

DIY Harry Potter sharpie mug

Image
I about to write a post about something many, many, MANY people have done before, but I just couldn't resist myself. I thought this idea was just so cute. It really isn't much of a tutorial. Get mug, decorate, bake, BOOM you're done. I decorated mine to have as many Harry Potter references as I could fit without overdoing it. The main point is the play on "Expecto Patronum" turning it into Espresso Patronum. I then added some HP themed symbols on the handle. On the bottom I draw the grim to mimic the scene with the tea leaves. And, because I love this quote, I wrote "I solemnly swear I am up to no good  ·  Mischief managed"

Valentines Day Nail Art

Image
Yes, another valentine-related post in a row. I apologize. But I came up with this idea in the middle of the night (yup thats how my brain works), and I randomly decided to make a post about it. I'll say it now, excuse my bad photography, I literally did do this in the middle of the night. Here is the design: Start off by painting your entire nail your base color. I chose black as mine. Then I took a piece of tape and cut a heart out of the middle with a heart hole puncher. If you do not have one, fold the piece of tape in half (make sure the sticky sides aren't the ones touching) and cut half a heart out in the middle. Paint over the space with your heart color. When you take the tape off, you should have a cute heart. Go ahead and put dots around the outside of the heart in a contrasting color.

Maintaining New Year's Resolutions

Today, January 10th, is the day most people start to give up on their New Year's resolutions. I think changing for the better in a New Year is healthy, thus important. That being said, here are a few tips to maintain your New Year's resolution. Put Resolutions Somewhere Visible Write down your resolutions on a piece of paper and tape it somewhere you will see every day. This way you will not forget about them and you will subconsciously be more motivated to towards keeping them. Set Up Reminders Set alarms on your phone or scheduled text messages to remind yourself to do somethings such as work out. There is no "tomorrow" Do not hold everything till "tomorrow" because eventually "tomorrow" will become 2015's New Year's resolution. I hope these tips helped some of you to lead a healthier, happier year. Happy New Year to all of you!

DIY: Flower Lights for Under $10

Image
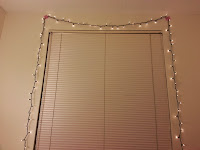
So about a month ago I decided to put up some string lights. They look super cute but after a month of looking at them, they started to look a bit plain. So, I thought I should do something to spice them up a little. I was looking online to see if I could find some cute things to do with string lights, but I didn't really have access to craft supplies by my dorm. After a bit of digging, I found some string lights that had flowers on them. I thought to myself, I can make that. And I'm loving the results. Before:                                After: What you will need: String Lights 2" flowers I got these flowers online for in a pack of 24 for only $7. You have to make sure the flowers are like these, where there are two layers of petals and a center. The first thing you need to do is get the petal apart. Pull the green backing off of the stem piece. When you pull the pieces apart, you should be left with this. As you can see, the petals hav